Pack Fitting Basics
I love being a hunter these days because there are so many great advancements in technology that make life in the backcountry more efficient and more comfortable. Packs are no different. It seems like right when I get settled into a pack that works great, someone comes up with a cool new concept to make them function better.
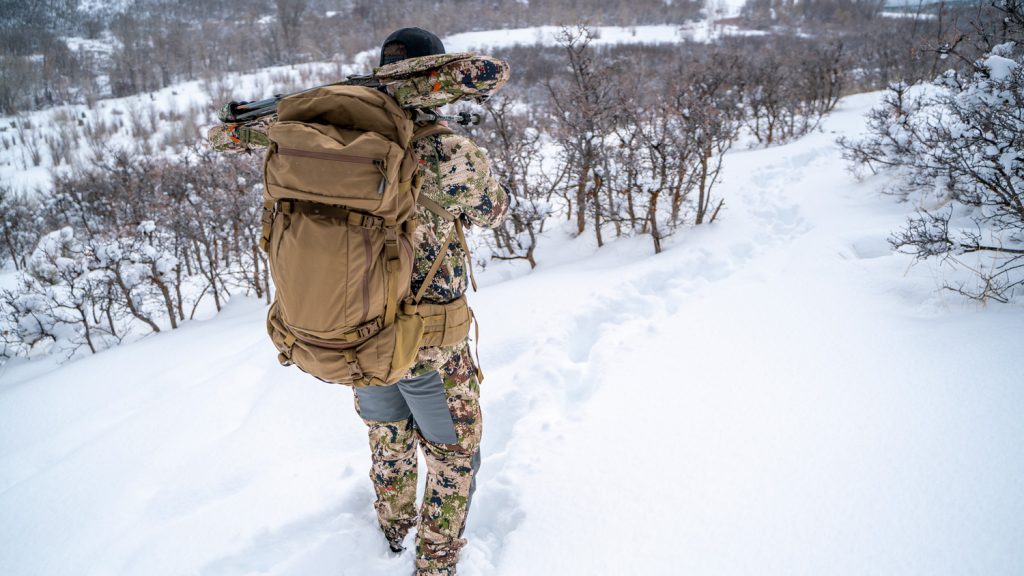
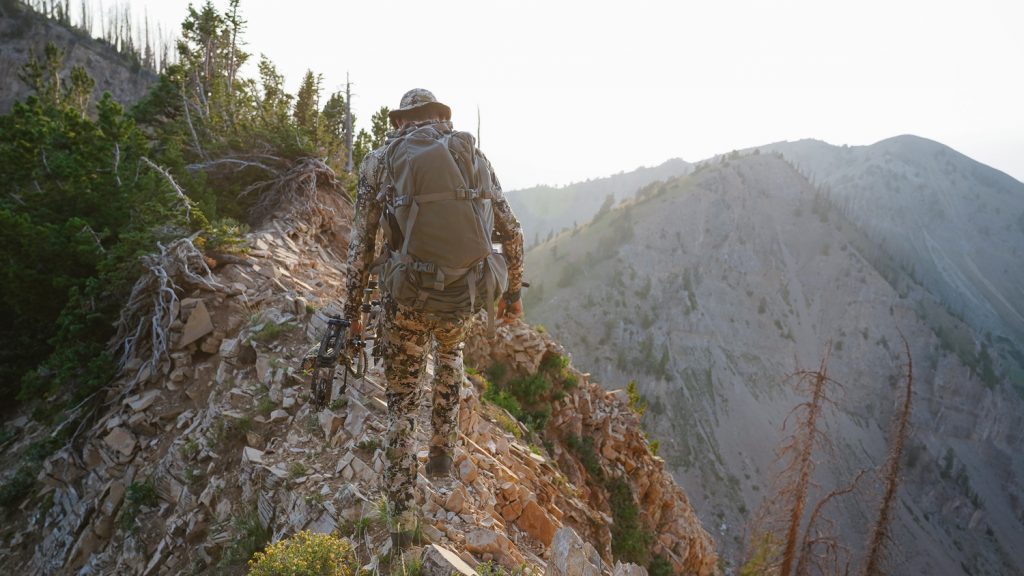
When it comes to fitting a pack, I think it’s important to first determine your intended use of the pack. Are you the type of hunter that carries camp around on your back for 5-7 days? Or do you usually hunt from a truck or spike camp where a lot less gear to haul on your back is required? Fortunately, there is more than a few packs out there that are dual purpose packs. Meaning they can be used as a day pack as well as an extended backcountry hunt.
Once you’ve determined your hunting style then it becomes much easier to narrow down the right size of pack and then fitting the pack properly. Packs are usually broken down into modular components. These components consist of the bag, frame and belt.
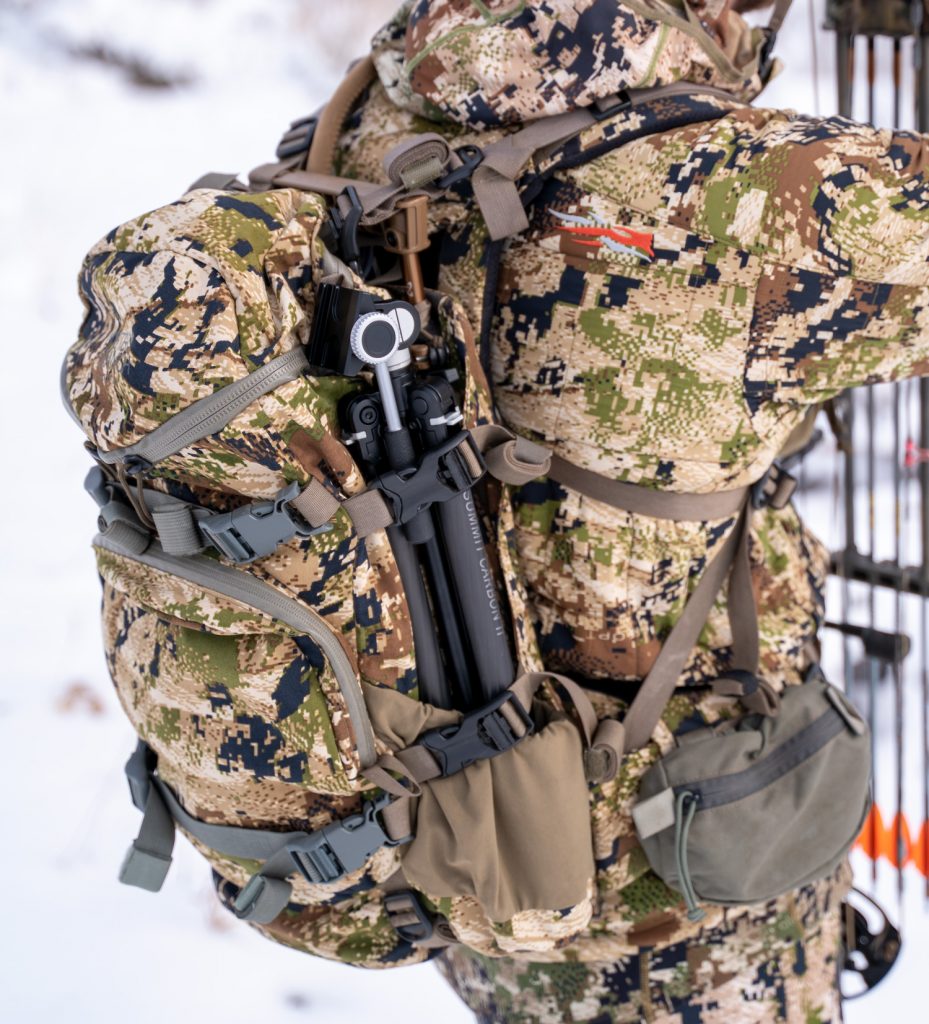
BAGS
Bags are measured by how many cubic inches of space it has and this translates into how much stuff it can carry. A day pack for example is usually a 1,500-2,500 cubic inch bag. This is enough space to carry hydration, game bags, first aid kit, extra clothes, kill kit, etc. Not big enough to carry sleeping gear and meals for multiple days. A bag that is sized at 3,000-4,000 cubic inches is much more adapt to carrying enough gear and food for a 3-to-5-day hunt. A bag that is sized at 4,000-7,000 cubic inches would be considered for 7–to-10-day expedition hunts where you need to carry more gear and even more food.
FRAMES
Frames can be either internal or external to the pack. The purpose of these frames is to add structure to the bag and allows you to carry heavier weight more comfortably. Usually, a day pack doesn’t require too much support from a frame because it’s not intended to carry heavy loads. However, a bag that can carry 7,000 cubic inches of gear needs a sturdy frame to help distribute the weight. Most of the packs I am using have internal carbon frame stays that are light weight and provide good structure for the bag to attach to.
BELTS
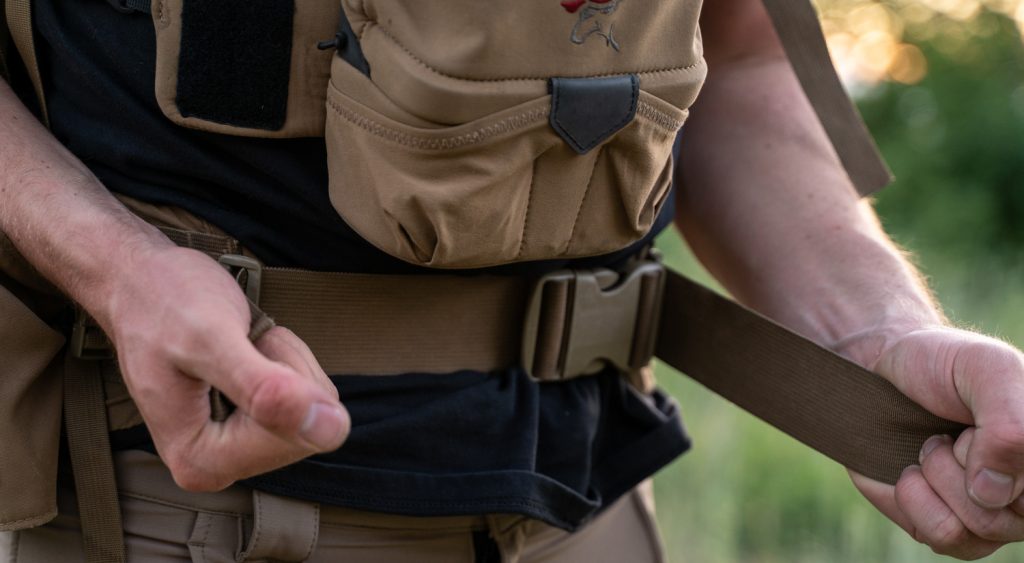
Belts are one of the most important aspects of any pack especially as we consider pack fit. Belts are usually measured in S, M, L, and XL. Check with the manufacturer to determine their recommendation for the size of belt that will fit your waist size. The key here is to find the right belt size that you can snug around your hips without running out of adjustment. Proper pack fit suggests that most of the weight will be riding on your hips and not on your shoulders so proper belt fit is critical.
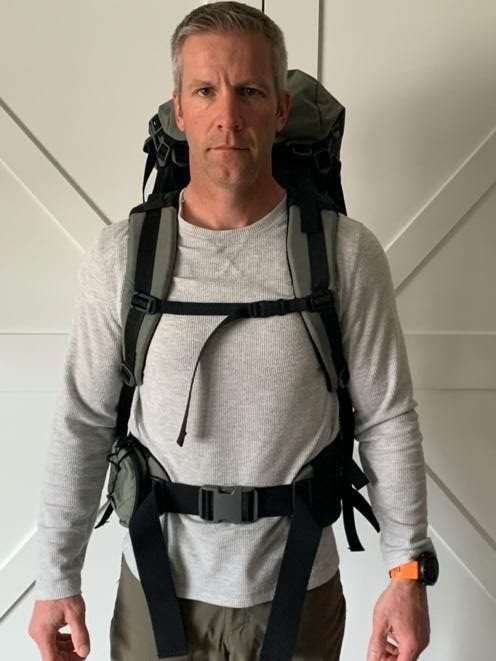
Let’s jump into making sure you have the proper fit to your pack. I am going to use a Stone Glacier Sky 5900 for demonstration purposes.
Guide to proper pack fit:
Step 1:
Loosen all straps on shoulder harness especially the load lifters. Put about 20-30lbs in the pack and put it on. Make sure the belt is secured around the center of your hip bones. 90% of the weight will be resting on your hips so you want to get this right. With a heavy load, your belt needs to be really snug and fit properly. See diagrams below for the correct and incorrect placement of the belt on your hips.
Too Low – Incorrect
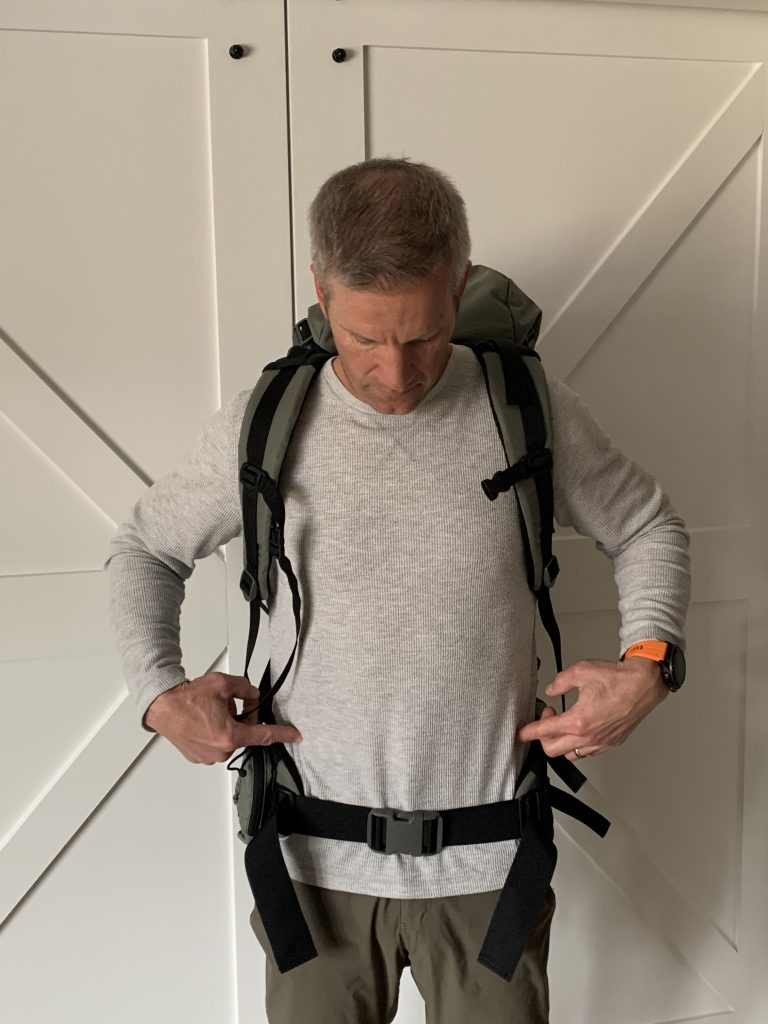
Middle of Hips - Correct

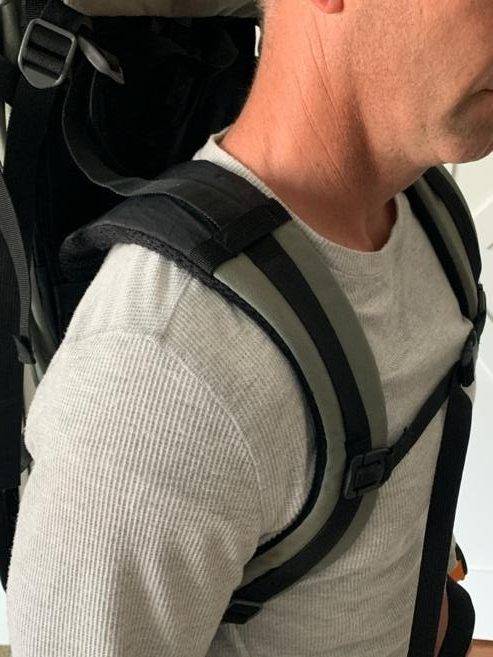
Step 2:
Turn sideways and look into a mirror or have someone take a picture and see where the top of the shoulder straps are sitting in relation to your shoulders. You don’t want any gap under the shoulder straps, but you also don’t want the weight all on your shoulders. The harness needs to be adjusted properly to make sure the shoulder straps fit properly. A good indicator for this particular pack is that the stitch indicator should be really close to the top of your shoulder. See diagrams below.
Gap – Incorrect
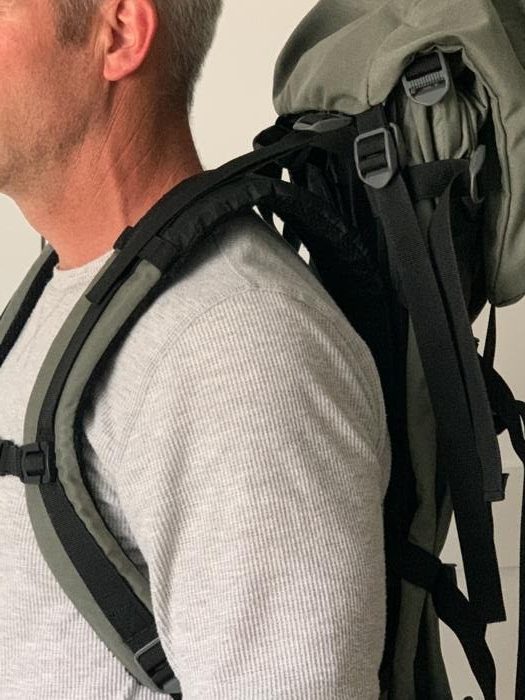
No gap - Correct
Step 3:
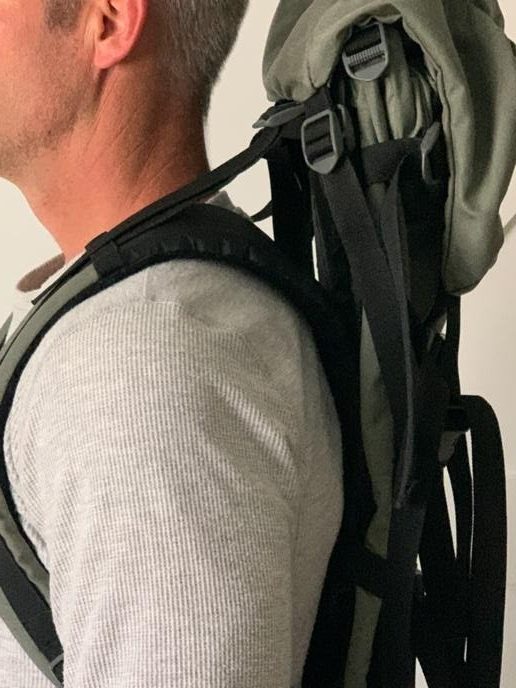
Cinch down the shoulder straps, chest strap and load lifters. These should be tightened down just enough to keep the load from shifting around but don’t crank on them. See diagrams below.
Straps are snug but not overtightened – Shoulder strap is on top of the shoulder - Correct
For optimal pack fit and comfort, how you load your pack is important. This is a topic for another article, but a general rule is load the heaviest items against your back and get them as high as you can in your pack. Using a load shelf is a good idea when packing meat for example. This keeps the pack from pulling down below your hips and causing discomfort. I almost ruined a hunt one year by having too much weight too low. This made my hips so sore that I could hardly buckle my waist belt the next day.
Whether you already have a pack or you are in the market for a new one, following the simple guidelines mentioned above should help you improve your pack fit and comfort for your desired hunting style. If you have any questions, please contact a gear experts at Blackovis.com for more information on what pack is right for you. Hunt hard and good luck.
-Mark Skousen